Range Rover
[su_row][su_column size=”1/2″]
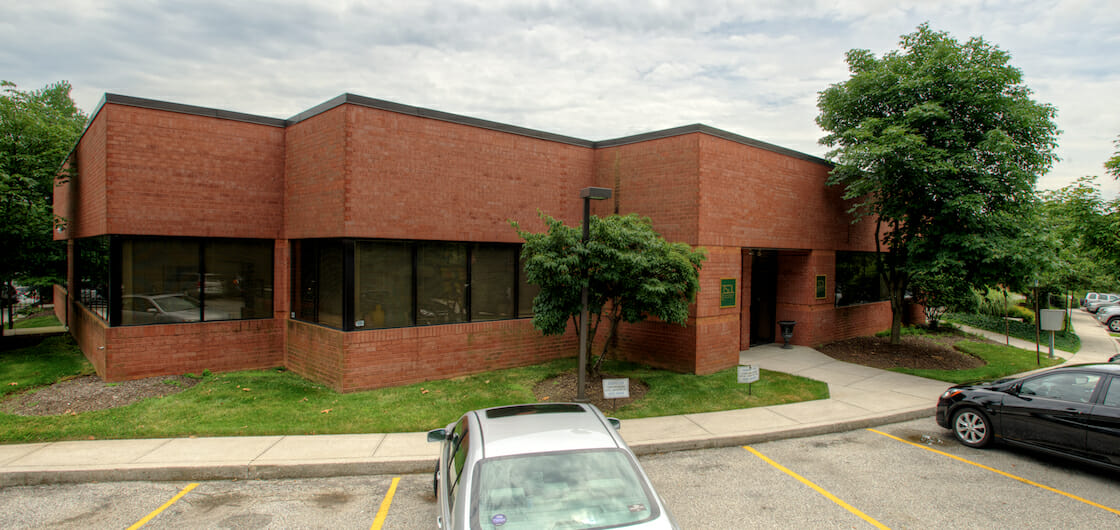
The photo shoot should have been a breeze. All our client wanted was an exterior shot of a particular building. No people to herd, no tricky indoor lighting to manipulate. We had enough sun to be helpful, but no so much that it would wash out everything.
Yet Vienna, our photographer, struggled to get a website-worthy shot. If the building looked good, the sky did not, and vice versa. The time had come for a lesson on HDR (High Dynamic Range).
[/su_column]
[su_column size=”1/2″]
[/su_column]
[/su_row]
High Dynamic Range
In photography, dynamic range is the difference between the lightest and darkest regions in a photograph. When dynamic range is limited, highlights wash out to white, or shadows deepen into dark blobs. HDR techniques expand the range of a camera to capture shadow and highlight details at the same time.
HDR is accomplished by bracketing shots—that is, taking three to seven shots of the same subject but at different exposure settings. Shots range from overexposed to normal to underexposed. A conventional camera on a tripod can accomplish this. We use the Nikon D800, which has an auto-bracket feature. We then use software like Photomatix Pro to selectively pull the most interesting details from the different bands of exposure to create a single image. All that’s left is to crop and insert a high-quality image into your website, brochure, or video.
See for yourself the difference HDR makes. Too bright: This image shows detail in the building, but loses the details in the bright sky. Click to enlarge:
Too dark: Now the sky is nicely textured but the building is dark and murky. Today’s cameras can’t get everything in a single exposure.
Deepen the Learning
After Vienna saw what HDR technology could do for a business project, she wanted to experiment with its creative potential. She also wanted the benefit of immediately using a new technique to drive home the learning. Here are the results.
Let us show you what HDR can do for your next photoshoot.


